
In the decorated Easter egg, Christians see a symbol of rebirth, a sign of faith and hope for miracles. According to biblical legend, Mary Magdalene, healed by the Lord from an evil spirit, was the first to bring the news of Christ’s resurrection. When she approached the Roman Emperor with a humble offering, she presented him with a chicken egg and said, “Christ is Risen.” Tiberius retorted that this was as impossible as turning a white egg red. Yet, right before his eyes, the egg suddenly changed color, confirming the miracle of resurrection. To commemorate the mystery of salvation and to glorify eternal life, the tradition of dyeing eggs at Easter emerged. Here’s how to do it in various ways, just in time for the most significant Orthodox holiday, which falls on May 5, 2024.

Boiling the Eggs
Before decorating the eggs, they need to be boiled. To prevent the shells from cracking during this process, add salt to the boiling water (1 teaspoon of salt per 1 liter of water), and allow the eggs from the refrigerator to warm up naturally to room temperature.
It’s important to handle everything carefully: using a slotted spoon, gently lower the eggs into the pot of water, avoiding any impact against the sides or bottom. Do not boil the eggs at a vigorous boil; reduce the heat from maximum to medium to keep the water at a gentle simmer.
Soft-boiled eggs take about 3 minutes after the water starts boiling, “medium” eggs take around 5 minutes, and hard-boiled eggs require 10 minutes. Before dyeing, cool and dry the eggs.

How to Dye Eggs with Dyes
Ready-made dyes for Easter eggs are available for purchase. They come in powders, tablets, pastes, or gels. The packaging should indicate the food dye nomenclature: E102, E104, E110, E120, E122, E124, E131, E132, E133, E142, E160, E163, E181. Any of these substances are permitted by health regulations for contact with food products. However, dyes of unknown composition should not be used to avoid poisoning.
For the simplest dyeing method using dry dye, protect your hands with gloves and prepare the most dye-resistant container. Glass is the best choice, as other materials may stain along with the eggs. Pour warm water into the container so that it completely covers the eggs. For better dye adherence to the shell, add vinegar to the water (1 tablespoon of 9% vinegar per cup of water).

Add the food dye to the water. One package is designed for 200 ml of liquid. Using more or less powder from the packet will achieve the desired color concentration. Use a spoon to lower the egg into the dye solution. Depending on the desired depth of color, dyeing can take from 2 to 10 minutes. Afterward, place the eggs on a paper towel or napkin (to avoid staining the countertop, place a “mat” on a baking sheet). Once the eggs are dry, you can give them a shine with oil: apply a few drops to a napkin and wipe the dyed shell.
How to Dye Eggs with Patterns
Gel food dye is convenient because it doesn’t need to be dissolved or mixed: the product is ready to use. You can simply add a little water and mix the dye to reduce color saturation.
To create intricate designs on the shell, use gel dyes in various colors and paper napkins. For each color, use a separate glass container. Wrap the boiled egg in an unfolded paper napkin, placing it in the center.
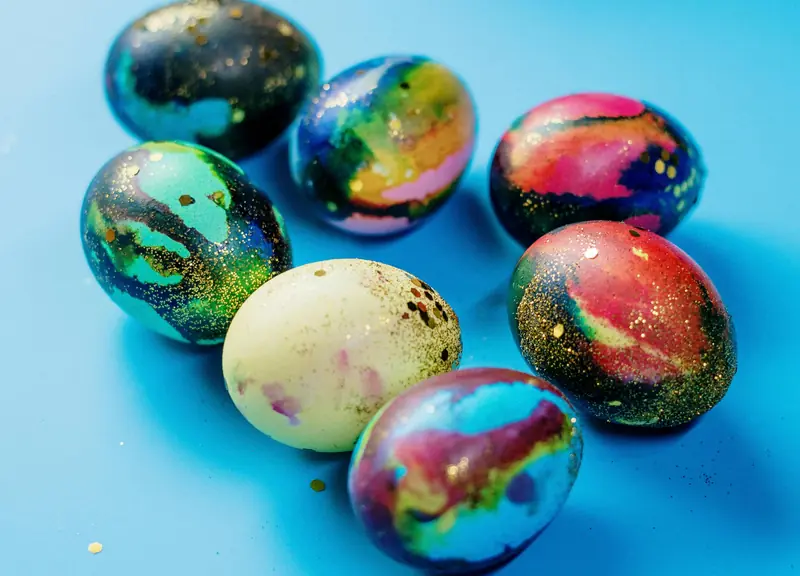
On the egg wrapped in the napkin, apply the gel dyes in various colors with a brush in any order. After drying, carefully remove the napkin from the shell and admire your artistic creation. This method can achieve exquisite patterns, with the design determined by the artist’s imagination.
How to Dye Eggs with Onion Skins
Before the advent of food dyes, it was common to dye Easter eggs with natural materials—birch leaves, nettles, beets, or oak bark. Since onion skins were always on hand, they became the most popular method for decorating shells. Using onion pigment, eggs can be dyed in several beautiful shades—from yellow-brown to reddish-brown.
However, this pigment is very difficult to wash off, so keep this in mind when choosing your cookware. An enameled pot will be permanently stained; the dye practically doesn’t come off enamel. It’s better to use a stainless steel container: pigment stains on such cookware can be cleaned with baking soda and vinegar. To dye a batch of 20 eggs, you will need the skins from ten large onions. Use the skins from yellow and red onions (either separately or in combination).
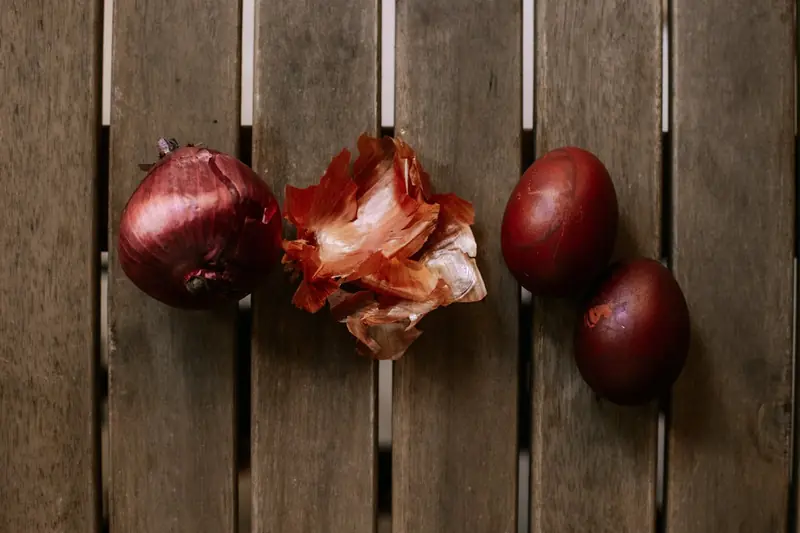
Fill a pot with onion skins and let them sit in water for 30 minutes to release the dye. To achieve a brighter color on the shell, wipe the eggs with vinegar beforehand or add 3 tablespoons of vinegar to the pot. Place the pot over medium heat and boil the onion skins for 40 minutes. Remove the used skins and boil the raw eggs in the dyed water for 10 minutes. However, if uniformity of color is not important, you can boil the eggs directly in the skins. This will provide more pigment for dyeing, and the contact of the skins with the eggs in different places will create an uneven coloring effect, adding a decorative touch.
How to Dye Eggs with Turmeric
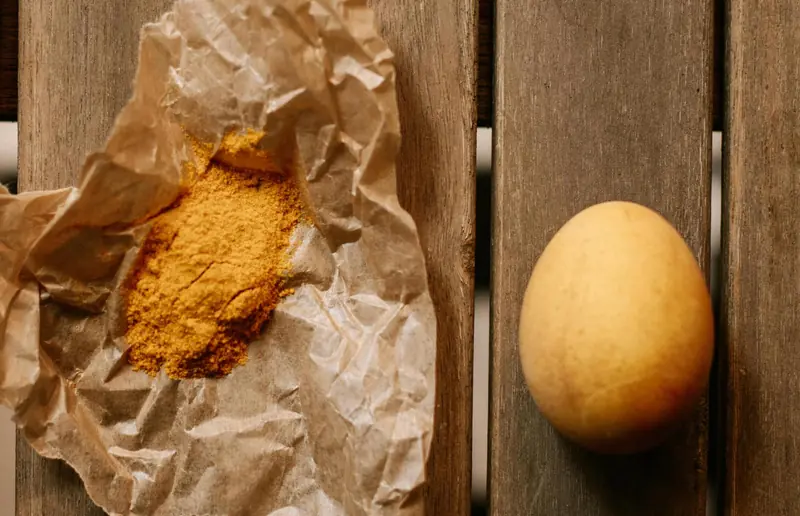
This ground Indian spice is made from a plant in the ginger family: its rhizome contains a natural yellow dye—curcumin. The shell will be dyed in golden-yellow shades.
Mix turmeric with water in a ratio of 2 tablespoons of spice to 1 liter of water (to achieve a more intense color, increase the amount of dye). Simmer the mixture over low heat for 20 minutes. Remove the pot from the heat and let it cool. For color intensity, add 2 tablespoons of vinegar to the pot.
Place the boiled eggs in the turmeric broth. For quality dyeing, they should sit there for 2 hours. You can also boil raw eggs in the turmeric broth; the color will vary in each case.
How to Dye Eggs with Beets
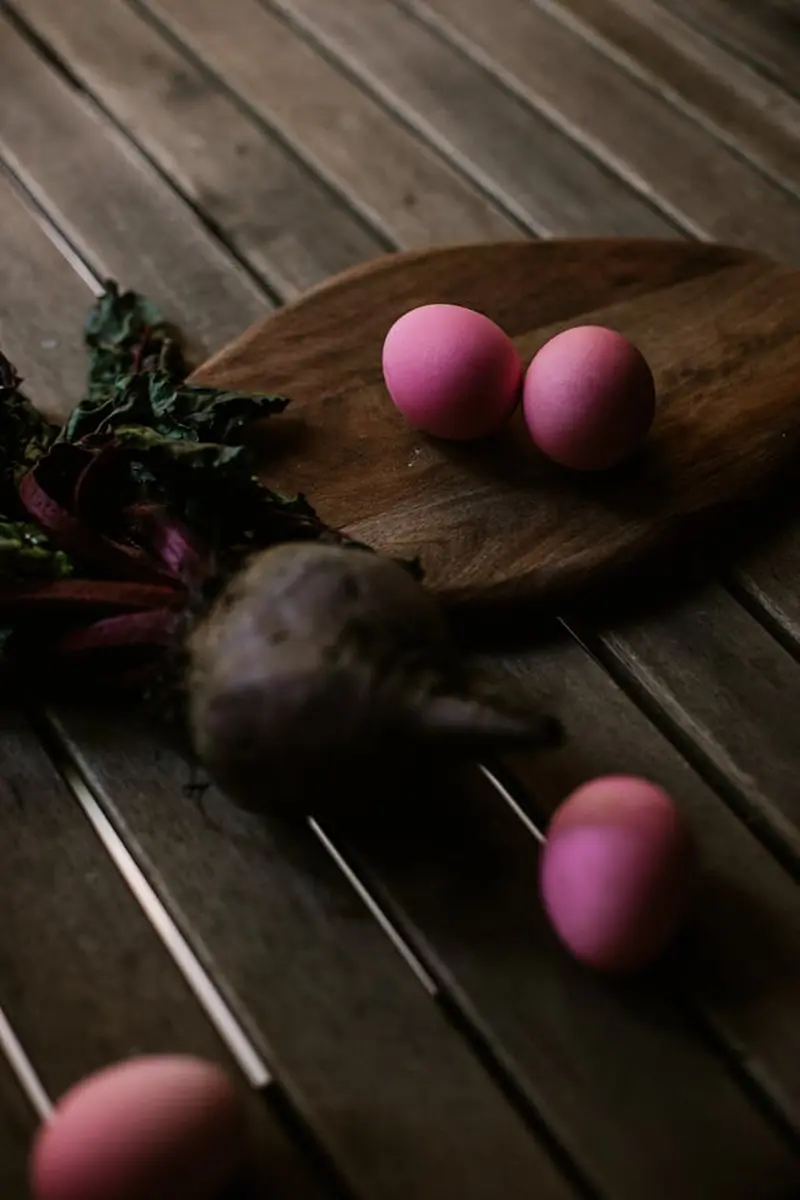
Pink and raspberry tones will be imparted to the shell by the root vegetable from the borscht set. But don’t forget to protect kitchen surfaces, your skin, and nails from the staining dye.
Juice the beet. You can simply grate the root vegetable and squeeze the juice from the shredded pieces using cheesecloth. The amount of dye liquid obtained should be enough to fully submerge the eggs.
Add 1 tablespoon of vinegar to the beet juice and place the hot boiled eggs in it. In the natural dye, the boiled eggs should sit for at least 15 minutes. The longer they stay, the brighter they will become.
How to Dye Eggs with Hibiscus
If the herbal tea made from dried petals of the Sudanese rose has a burgundy or red color, the eggs dyed with this pigment will come out in blue-purple shades.
To control the dyeing process, it’s better not to boil the eggs directly with the red flowers but to place the boiled eggs in the prepared broth and let them sit in the dye for one hour to several hours, depending on the desired depth of blue color.
Pour boiling water over the hibiscus (about 70 g of tea per 1 liter of water) and add 2 tablespoons of vinegar to the pot. Let the broth steep for 15 minutes. To achieve an even color on the shell, strain the broth, but for artistic “painting,” leave the tea leaves in during the dyeing process.
How to Dye Eggs with Red Cabbage
If you want to achieve beautiful blue or purple eggs, red cabbage will provide the necessary pigment. Chop the cabbage and fill a pot with large pieces of it. The more vegetable mass in the pot, the brighter the color will be.
Boil the cabbage for half an hour after it starts boiling. Cool the cabbage broth to room temperature. Strain it, separating the vegetable fragments. Add 2 tablespoons of vinegar and stir.
Place the boiled eggs in the prepared natural dye and let them sit for 20 minutes to 4 hours. The longer the eggs are dyed, the brighter the color will be.

How to Make a Scratch Egg
This refers to an Easter egg with a pattern scratched onto the shell with a sharp object. Traditionally, a needle or awl is used in this ancient egg-decorating method.
Boil the eggs and dye them in your chosen color using one of the methods listed. It’s better to use eggs with white shells, as they are easier to scratch compared to dark eggs.
Using a needle or awl, scratch the desired ornament or design onto the dyed shell. To avoid breaking the integrity of the egg, work very carefully with the sharp object.
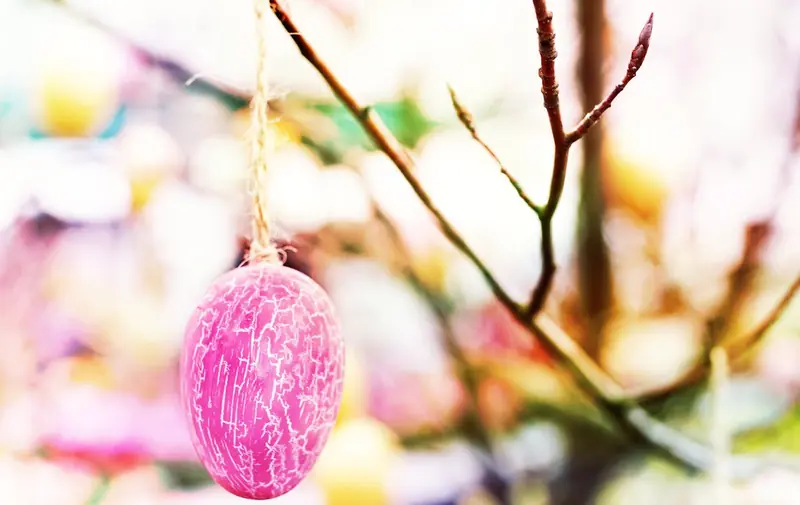
How to Decoupage on the Shell
This technique involves decorating the egg with images glued onto it. Decorate the surface with patterns from paper napkins. Secure the images to the shell using the white of a raw egg.
Take a napkin, separate the top layer with the design, and cut out the pattern you want to glue onto the egg. Separate the yolk from the raw egg and keep only the white for your work. Place the pattern on the egg, dip a brush in the egg white, and adhere the paper to the shell, applying the egg white over the design. Allow the adhesive to dry: at this point, the paper will securely stick to the egg.
Remember that only safe materials are suitable for decorating food products. Do not use chemical glues—silicate, PVA, shoe, or universal—and avoid attaching small items like beads or sequins.
…As you prepare for Easter and cook dishes for the feast, focus on positivity and approach your work with a cheerful spirit, as festive creativity requires bright emotions.
pexels.com
