There’s probably no simpler or cheaper way to harvest fresh produce within a week than by growing miniature seedlings of herbs and vegetables that can enhance your winter diet. Fresh, nutritious food can be available year-round for everyone, as it doesn’t require much living space or time for care. You can grow microgreens in perforated plastic trays on your balcony, windowsill, or under grow lights.
Growing Principles
You can grow any edible plants as home microgreens. Microgreens aren’t a unique type of greenery; rather, they represent a special method of cultivating familiar crops. Unlike garden beds, indoor conditions don’t require them to go through all stages of vegetation: a young shoot only needs to reach a height of 2.5 to 5 centimeters to make it to your table. These plants are used both as garnishes and in recipes for salads, soups, cocktails, and smoothies.
You can start harvesting your vitamin-rich crop just a few days after planting the seeds by cutting the stems once the first leaves appear. There’s no need to wait for the plants to fully develop: by the 5th to 7th day, they reach marketable condition. By this time, the sprout in a clear food-grade plastic tray with drainage holes contains the maximum amount of nutrients, and any further growth would require the plant to expend its beneficial potential.
However, microgreens are valued for their beneficial properties, which are achieved with each new seed planting. It’s easy to regrow shoots instead of harvesting them. One of the advantages of growing microgreens is the absence of pests and diseases: pathogens and parasites don’t have time to attack the shoots due to the extremely short maturation period of the plants.
Choosing Seeds
What plants can you grow as microgreens? Common vegetables and herbs suitable for outdoor planting can work, but gardeners recommend using special seeds designed for growing microgreens. This is because seeds from ground plants are often treated with agricultural chemicals to protect the sprouts. While these chemicals don’t harm mature fruits, they can be dangerous for tiny sprouts. When selecting seeds for microgreens, look for those free from harmful components, consider the flavor qualities of the plants, and check their germination time.
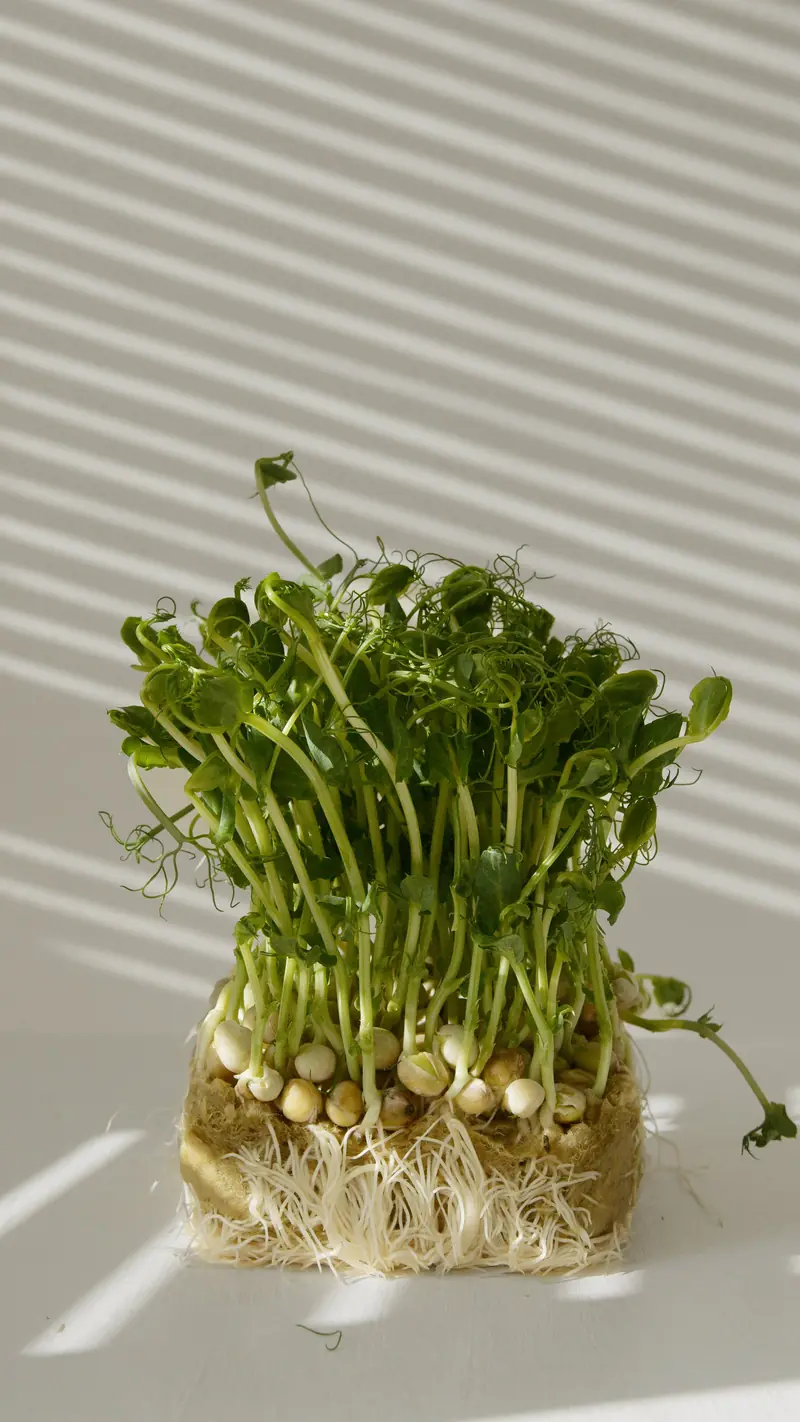
First and foremost, it’s important to determine which microgreens grow the fastest, as it’s practical to choose a crop that will provide fresh greens sooner than others. Broccoli is one such option. This type of cabbage germinates and grows quickly and is considered one of the easiest microgreens to cultivate. In addition to broccoli, other successful plants for microgreens include kohlrabi, alfalfa, radish, daikon, Swiss chard, peas, mustard, spinach, watercress, basil, cilantro, clover, flax, wheat, sunflower, and onion.
However, it’s best to avoid nightshade and squash plants in microgreens. Potatoes, eggplants, peppers, tomatoes, pumpkins, zucchinis, and squashes are not suitable for microgreens. Nightshade microgreens contain solanine—a toxic organic compound with insecticidal properties. Additionally, the sprouts of squash plants are not suitable due to their bitter taste. Furthermore, the leaves of these plants are covered with hairs (known as trichomes), which can diminish flavor quality and may cause stomach upset.
Healthy Treasure
Microgreens are in high demand among health food enthusiasts due to their antioxidant properties. Microgreens help eliminate free radicals from the body, which can damage cell membranes and pose a threat to DNA. The active enzymes in microgreens promote better food absorption (which can aid in weight loss). In winter, an important quality of microgreens is their ability to quickly fill the seasonal nutrient gap. Microgreens contain vitamins A, C, E, K, as well as beta-carotene, lutein, and fiber. It’s pointless to argue about which microgreen is the best: each has its own advantages.
Thanks to the presence of the anti-cancer and anti-inflammatory compound sulforaphane, broccoli microgreens inhibit the development of cancer cells and can be used for cancer prevention. Arugula microgreens boost hemoglobin, lower cholesterol, and strengthen blood vessels. This microgreen contains phosphorus, copper, and vitamins K, C, and A. Spinach, when grown as microgreens, actively helps eliminate toxins and waste from the body. The sprouts of this green are rich in iron, selenium, manganese, and potassium. Additionally, flax microgreens are beneficial for women’s health.
The amount of microgreens you can consume depends on individual contraindications. People with stomach ulcers or duodenal ulcers, specific allergic reactions to essential oils and flavonoids, or sensitivity to changes in blood clotting should exercise caution. In other cases, nutritionists allow for regular consumption of microgreens. A daily serving for maintaining health is about 30 grams of nutritious sprouts.
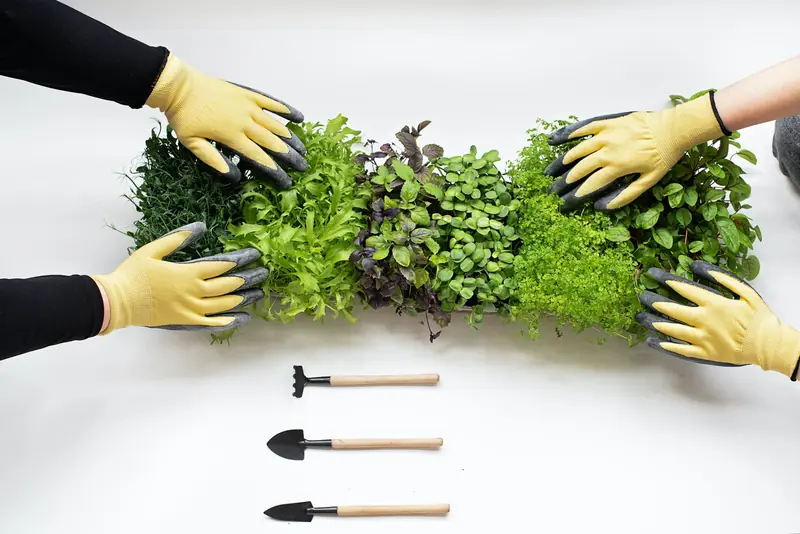
How to Grow Microgreens
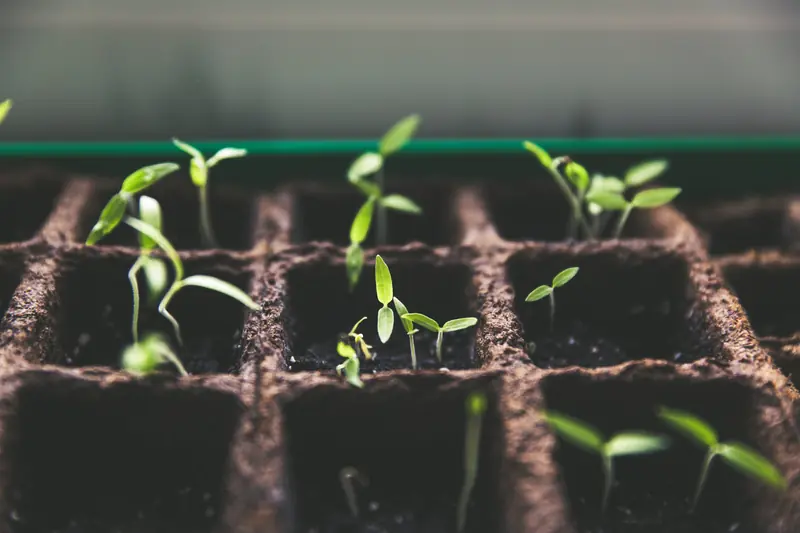
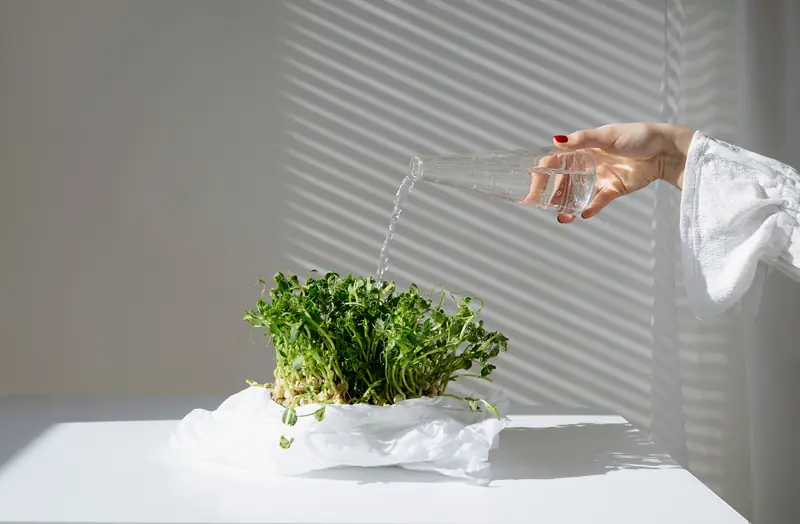
You can sprout seeds either in soil or on makeshift materials. In soil, seeds are sown randomly, close to each other. To ensure quick germination, cover the containers with plastic wrap, creating a greenhouse effect. After the seeds have sprouted, uncover the microgreens and place them in a sunny spot indoors. Microgreens grow fastest under grow lights at an ambient temperature of 18-23 degrees Celsius. The seedlings should be misted twice a day with room-temperature water from a spray bottle. Avoid placing microgreens near heaters that dry out the air, and drafts are also undesirable.
Instead of soil, you can use a special substrate in the container. For growing microgreens on jute, coconut, or flax mats, distribute the seeds over the well-moistened surface of the material and cover them with another mat or plastic wrap to retain moisture. Microgreens can also be grown on gauze (bandages), cotton (pads), toilet paper, or paper towels using the same method. It’s crucial to avoid both dryness and over-saturation; otherwise, the seedlings may develop mold and fungus, necessitating disposal. After germination, microgreens require even lighting, adequate ventilation, and moderate watering.
Some Interesting Facts About Growing Microgreens:
- With all conditions met, microgreens will sprout in 2-3 days.
- Soaking seeds before planting (for 8-12 hours) increases the chances of quick germination.
- Yellowing leaves of the sprouts will quickly green up in the sun.
- You can harvest the greens after 7 days.
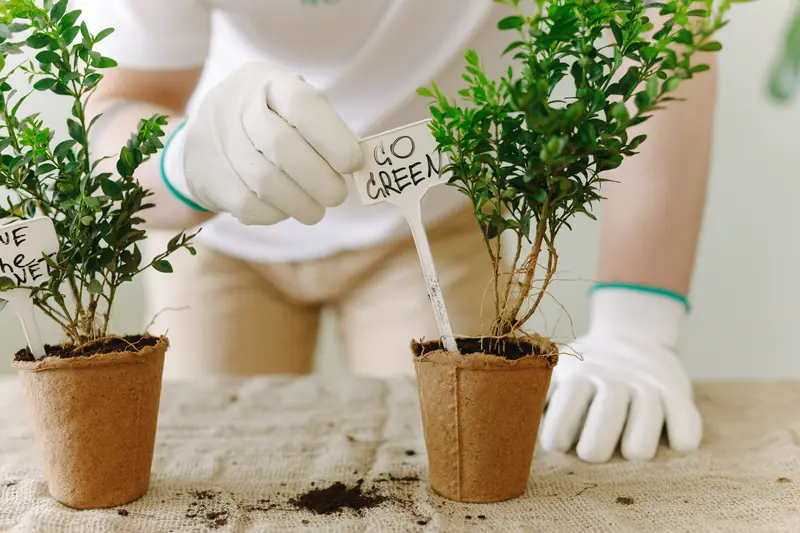
- Every 10 days, you should plant new seeds for a continuous supply of sprouts.
- It’s best to use harvested microgreens immediately. Otherwise, you can place the sprouts in a glass jar or plastic bag and store them in the refrigerator.